How to DIY Arched Plaster Coffee or Side Table
I love a good DIY project. I mean, who doesn’t? This weekend, the stars aligned. I finally had the chance to give my living room a mini makeover! My husband took care of the kids, and I dived right in. You know me, I’m a big procrastinator. So naturally, I had this project on my to-do list for ages, but I’m not sure why.
Let’s Talk About the Coolest Coffee Table You’ll Ever See
Let’s delve into the most exciting aspect—my extraordinary coffee table. Do you see me grinning from ear to ear this morning? Wondering why? It’s the simple joy of sipping my coffee from a table I essentially crafted from the ground up. I’m thankful I resisted the urge to go for a cookie-cutter table at everyone’s favorite furniture store. (Actually, I’m kidding. IKEA has some pretty good stuff.)
Instead, I rolled up my sleeves and dove into the project. After all, I desired something unique that wouldn’t be readily available in a furniture store. I wanted a piece that looked chic and would impress – and dare I say I’ve succeeded.
I had never worked with plaster before, so that was fun. Moreover, I was so excited to create a plaster table out of cardboard that was sturdy enough for little knick-knacks. So, how did I do it? Here’s a detailed rundown.
Essential Tools and Materials
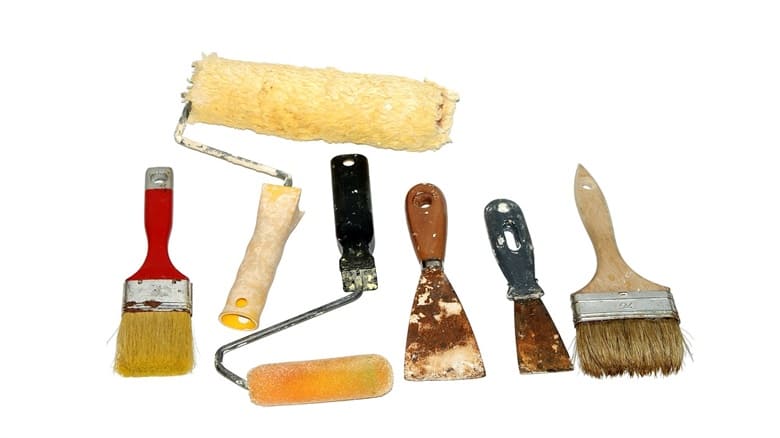
Before you begin crafting your plaster side table, save this list and make sure you’ve got all you need. If you’re a DIY fan, you probably have all these items at home. Otherwise, they’re pretty easy to source at your local hardware store.
- A cardboard box for the base
- Additional cardboard for reinforcement
- Joint compound
- Plastering tape
- Heavy-duty tape
- Hot glue gun
- PVA glue
- Stanley knife
- Scissors
- Sealing agent (such as spray adhesive)

Steps to Make
Once you have all your materials, you can start your project. If you’re making your plaster coffee table in your living room, you should line your floors to make cleanup a breeze. Let’s do it!
- Invert your box so the open side faces the floor.
- Attach a string to a pen and tape it to the center of the box’s base. Swing the pen to form a uniform arch (refer to the video tutorial for clarification).
- Utilize a Stanley knife to cut out the arched shape and use it as a template for an identical arch on the opposite side.
- Remove the bottom box flaps on the sides now featuring an arch, leaving the other two sides as “feet.”
- Flip the box again, and glue the cardboard flaps securely at the top (forming the tabletop) once the glue has dried.
- Measure the inside of the box for height and width, then cut spare cardboard into pieces of suitable size. To ensure sturdiness, use one piece for every 6cm of box length.
- Employ the arch shape from step 3 to cut arches at the bottom of each cardboard piece.
- Secure the top of the cardboard with hot glue, placing one piece every 6cm.
- Use the remaining cardboard to create supports between internal dividers, securing them with hot glue to form a basic table shape.
- Cut a cardboard piece to match the width of the table’s arch for the base. Ensure the cardboard lines are horizontal for easier bending.
- Bend the cardboard to form a rounded base for your table, using PVA glue to secure it. Taping down can help maintain a crisp shape.
- After drying, trim the remaining flaps on the table’s feet and glue them down to complete the table’s shape.
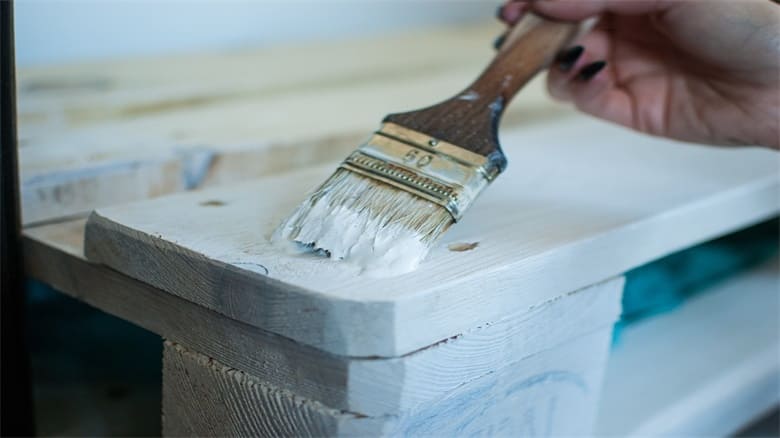
- Place your table on a covered surface and coat it with a joint compound. If you’re using tape, consider plastering tape to enhance joint compound adhesion.
- Finally, seal the table with a spray adhesive or the sealant of your choice.
If you want to take things one step further, color the grout with paint. After all, white might not be your color of choice.
Using Your New Plaster Table
These tables serve exceptionally well as decorative side pieces, adding a touch of style to your space. However, they may not be the best choice for heavy-duty use, especially as a coffee table where you might consider putting your feet. While the structure can handle it, repeated heavy friction may lead to chipping off parts of the plaster. Using a sealant could mitigate this issue, providing an extra layer of protection.
In terms of durability, with proper care, these tables hold up admirably. For instance, the coffee table, despite experiencing heavy use, such as serving as both a dining and coffee table, has sustained a bit of wear and tear over two months. On the other hand, the decorative side table is thriving and looks as cute as ever.
Surprisingly, these tables exhibit remarkable sturdiness – a significant concern, considering their composition as glorified cardboard boxes. They prove to be quite robust, comfortably accommodating items like plants, books, art prints, and various home decor pieces. Their solid build and versatility make them reliable additions to your living space. Despite saying that, I don’t think a plaster dining table for six would last very long.
What Do You Think?
So, do you think you’ll revamp your living room with this DIY piece? I’m definitely hoping you’ll take on this project. I completed this one in a jiffy, and waiting for the plaster to dry was the most challenging part.

